What Are Sheetrock Cracks?
Knowing how to fix sheetrock cracks in your home is a helpful skill. Sheetrock cracks are common, and it’s useful to understand why they happen.
Why Do Cracks Happen?
- Settling Foundations: As houses get older, they settle. This can make cracks appear.
- Changes in Weather: Temperature and humidity changes can make materials expand and shrink.
- Poor Installation: If sheetrock is not installed correctly, it can crack easier.
- Structural Issues: Problems with the house’s structure can cause cracks.
Tools and Stuff You Need
To fix sheetrock cracks well, you need the right tools and materials.
Tools
- Utility knife
- Putty knife
- Sanding sponge or sandpaper
- Paintbrush
- Mixing tool
Materials
- Joint compound (also called mud)
- Sheetrock tape
- Primer
- Paint that matches your wall
Getting Ready
Getting ready the right way is really important for fixing sheetrock cracks so they don’t come back.
Look at the Damage
- Measure how long and wide the crack is.
- Check for bigger problems with your house (ask a professional if you’re not sure).
Clean the Area
- Brush away any loose bits or dust.
- Make sure the area around the crack is clean and dry before you start.
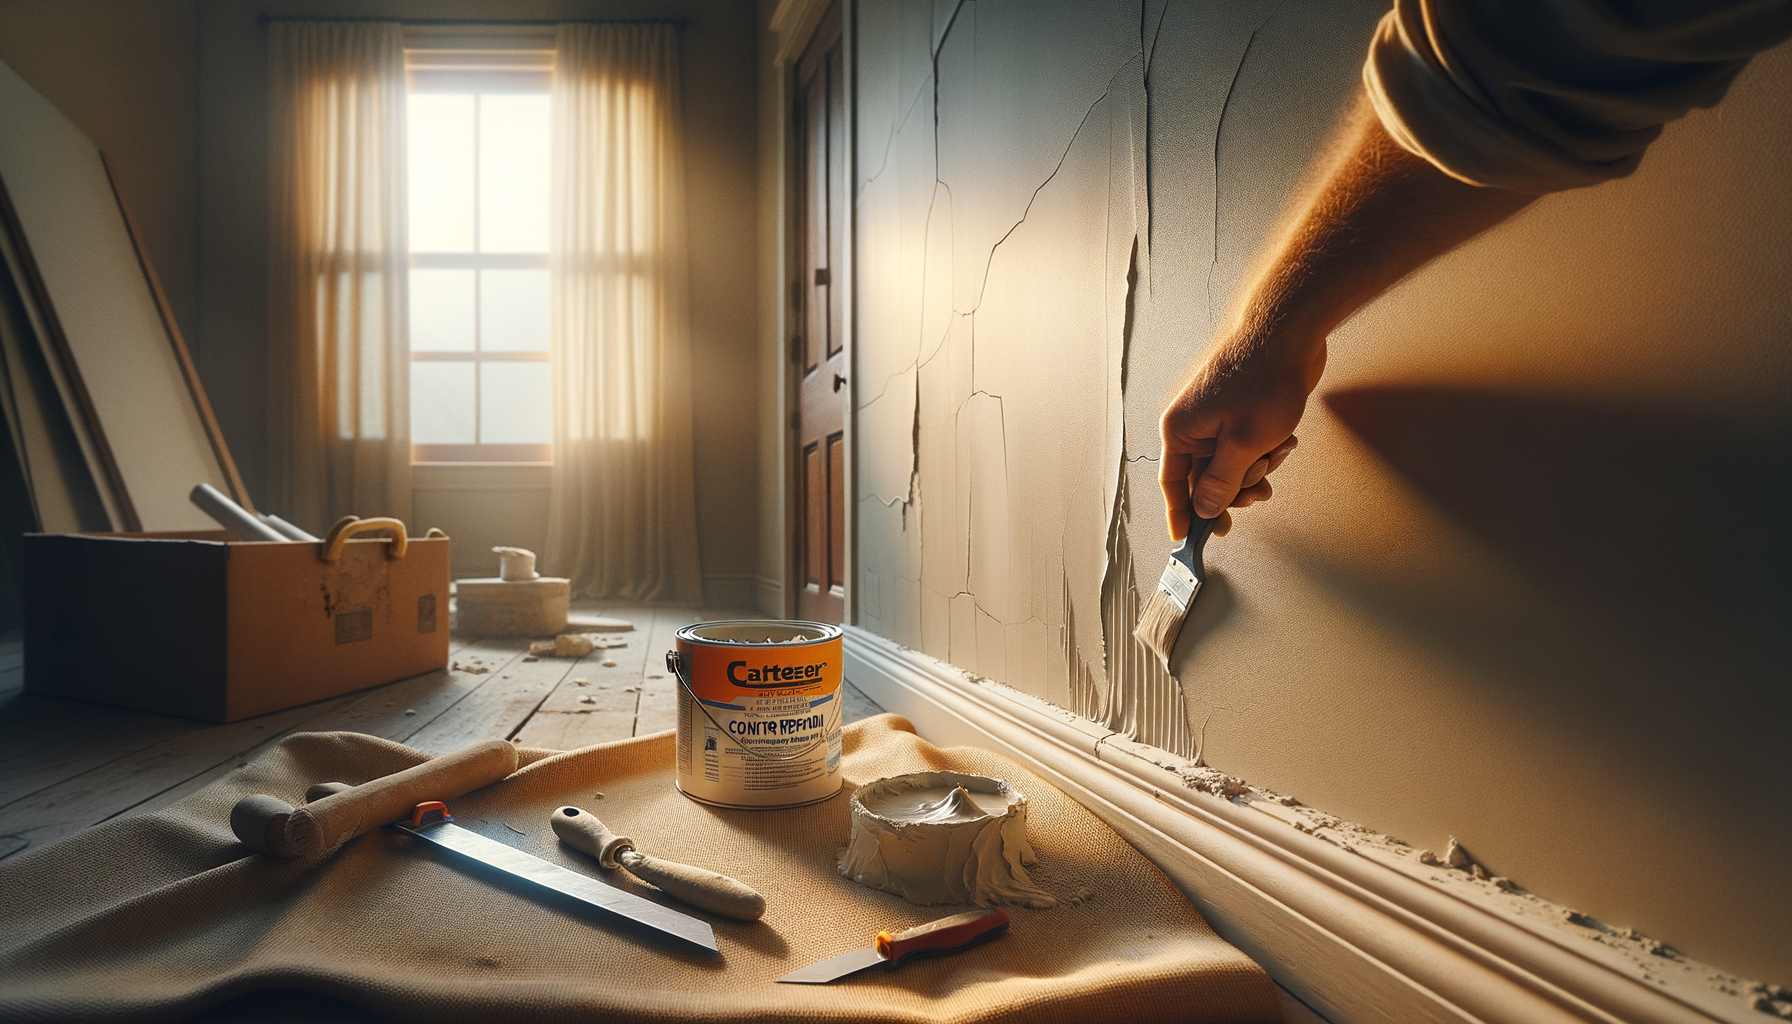
How to Fix Sheetrock Cracks Step by Step
Step 1: Widen the Crack
- Use a utility knife to gently make the crack a V-shape. This helps the joint compound stick better.
Step 2: Apply the Joint Compound
- Mix the joint compound following the package instructions.
- Use a putty knife to fill the crack with the compound.
Step 3: Add Sheetrock Tape
- Cut a piece of tape to fit the crack and press it into the wet compound.
- Smooth out the tape with a putty knife to remove air bubbles.
Step 4: More Joint Compound
- When the first layer is dry, add a second, thinner layer of compound over the tape. Smooth the edges.
- Let this layer dry completely.
Step 5: Sand the Surface
- Sand the fixed area to make it smooth using sandpaper or a sanding sponge.
- Wipe away any dust with a dry cloth.
Finishing Up
Prime the Area
- Put primer on the repaired area to get it ready for painting.
Paint the Area
- After the primer dries, paint over the repaired area with matching paint so it looks seamless.
Clean Up
- Clean your tools and the work area to keep things tidy.
Tips to Stop Future Cracks
Keeping more cracks from appearing means doing some regular checks and maintenance.
Keep an Eye on Humidity
- Use a dehumidifier in damp places to control moisture, which can cause cracks.
Regular Checks
- Regularly look at your home’s walls and foundation for any signs of damage.
Get Professional Help
- Hire professionals to check and fix any big structural problems to stop cracks from coming back.
By following these easy steps, you can keep your walls looking smooth and nice. Regular upkeep and quick repairs can stop small problems from getting bigger, keeping your home in great shape.
Leave a Reply